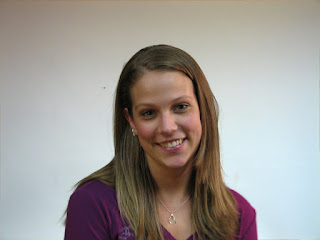
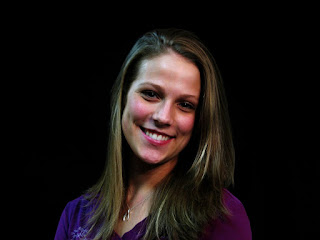
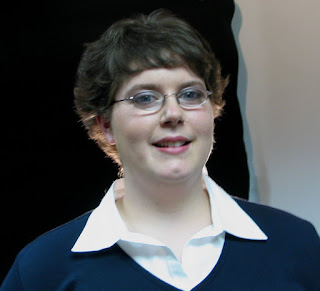
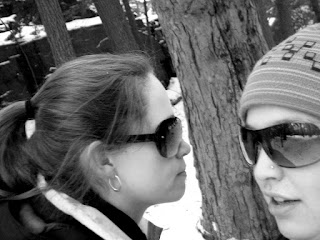
I started playing around in Photoshop and wondered if there was a way to make photos look like old school postcards. I found a tutorial online for cross-processing and here is the before, the after, and the post card.
I love the feeling of nostalgia that is created with the cross-processing of the images.
Thursday, March 27, 2008
Wednesday, March 26, 2008
Tuesday, March 25, 2008
New Tat
 I have always had a love for mermaids. My first mermaid tattoo was done on my foot, this one as you can see is on my shoulder.
This one is an Olivia de Berardinis of Bettie Page.
Patsy at Fast Lane Tattoo laid the ink in 4 hours, I highly recommend him to anyone looking to get an amazing tattoo.
Friday, March 21, 2008
Thursday, March 20, 2008
Corned Beef and Cabbage
In honor of St. Patrick's Day, I made corned beef and cabbage for dinner. Turns out, Jeremy doesn't like corned beef and cabbage, but was willing to try mine anyway. I love it, so there was just more for me. Good thing I bought the smallest piece I could find!
Corned Beef and Cabbage
1.5 lbs corned beef trimmed of as much fat as possible
1 TBS peppercorns
1 bay leaf
1 small or 1/2 large head of cabbage - quartered
3 carrots - cut into large pieces
1 onion - quartered
3 cloves garlic - popped with knife
Place corned beef in pot with peppercorns, garlic, and bay leaf. Fill with enough water to cover meat, place lid on and simmer for roughly 2 hours.
Add onions and carrots and continue to simmer for another 10 minutes.
Add cabbage and simmer for another 15 minutes or until cabbage is done to your liking.
Use slotted spoon to remove meat and veggies. Serve with mashed potatoes.
While this is not a meal I would want to eat all the time, once or twice a year it is as comforting a meal as they come.
Journal 4 - Lighting and Portraits
This journal assignment was challenging and fun. I took it from a slightly different perspective, using colored paper to gather different effects.
 The first column of shots are taken with no flash, with just colored paper held up to reflect the color. The color is not very strong, however when enlarged, hints of the color can be seen.
The second column was used in a similar manner, only with the flash turned on and being softened by a white piece of paper used as a filter.
The third column is done with the colored paper as the filter.
***
 This shot was taken with no filter on the light, the light placed on chest at head level.
***
 This shot was also taken with the light at head level, with a purple piece of paper over the light as a filter.
***
Thursday, March 13, 2008
In Class Shoot - Lighting
We played with lighting in class. There are some great ways to get different results depending on the type of lighting and the angle of lighting.
Wednesday, March 12, 2008
Journal 3 - From the Hip......
I loved this assignment. It was really fun to go out and just "point and shoot" without looking. Many of my shots were pretty crappy, but I was able to get seven really decent shots to post. The ice that formed around the trees was beautiful.
Wednesday, March 05, 2008
Exercise 3 - Curves - NOT JUST FOR WOMEN!!!
Bathroom Ceiling
My bathroom is getting a mini makeover due to some major leakage of pipes. There are holes in my ceiling, the floors are covered in dust and grime, and it is generally not the clean feeling place it should be. However, I was able to take several really cool looking photos that I have edited slightly for effect.

Journal 2 - Portrait of an Object
I had a much easier time with this assignment. I chose an object that is important to me. The conch shell belonged to my uncle. He used it as the fog horn on his sailboat and it spent many years at my grandmothers house after his death. When my grandmother finally passed away, it was one of the few items I wanted. It reminds me of my uncle, it reminds me of my grandmother, and I am one of the few people who are able to blow it and get a good sound out of it. I did struggle a bit with the lighting but in the end I am pleased with how they turned out.


Subscribe to:
Posts (Atom)


